
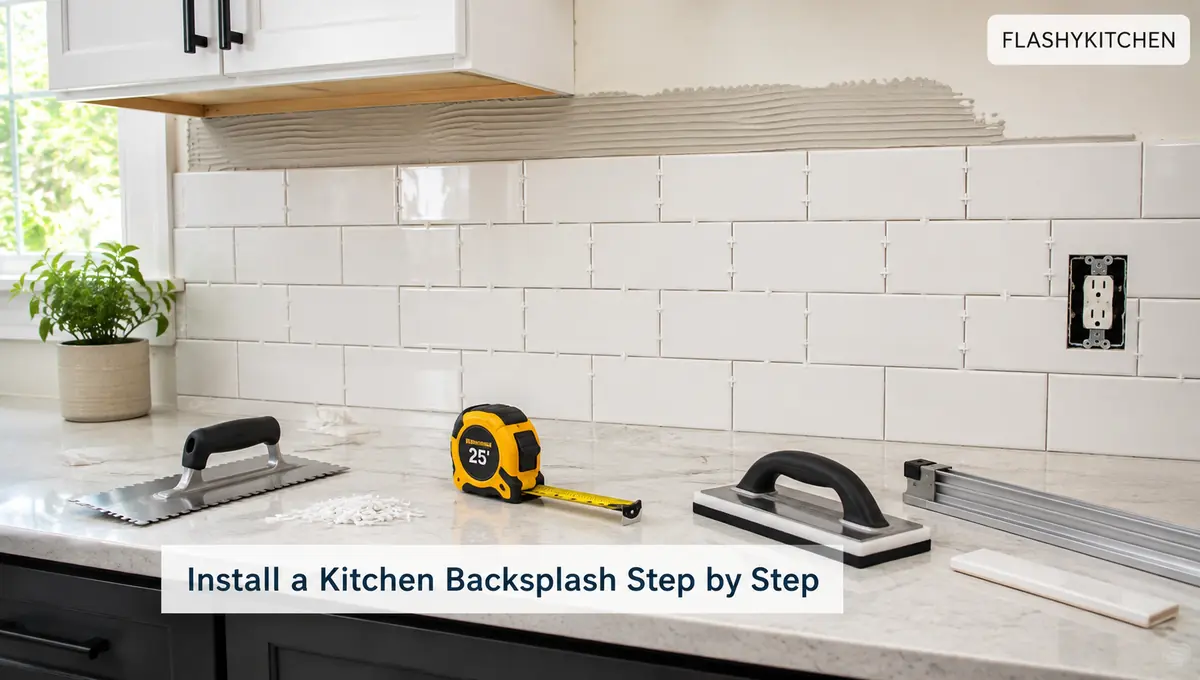
Learning how to install a backsplash in the kitchen is manageable for many homeowners, but placing tile is only one part of the job. The mistakes that cause the most rework usually happen earlier: tiling over a weak wall, starting from a poor reference line, choosing the wrong adhesive, or discovering outlet problems after the tile is set.
A reliable DIY kitchen backsplash installation starts with the wall and layout, then moves to adhesive, cutting, setting, grout, and flexible sealant. This guide shows how to make those decisions in the right order, including when sound drywall is enough and when the project should stop for repair or licensed electrical help.
Quick Answer
To understand how to install a backsplash in the kitchen, start with a clean, flat, sound wall and dry-plan the entire tile layout before spreading adhesive. Choose a setting material approved for the tile and surface, work in small sections, let the tile set for the required time, then grout field joints and use flexible sealant where movement can occur.
- Check the wall before tiling.
- Buy extra tile for cuts and waste.
- Mark level reference lines.
- Plan outlets and exposed edges first.
- Follow product cure and sealing instructions.
Before You Start: Tools, Wall Prep, and Safety
A kitchen backsplash installation goes more smoothly when the wall, tools, and electrical obstacles are handled first. Do not use adhesive to compensate for grease, loose paint, soft drywall, or obvious damage.
Gather a tape measure, level, straightedge, pencil, notched trowel, spacers, grout float, buckets, sponges, and a suitable cutter. Ceramic may work with a manual cutter, while porcelain, glass, stone, or detailed notches may call for a wet saw.
Wear eye protection and follow the tool instructions. Shut off power before removing faceplates or working near electrical boxes; broader kitchen safety tips also apply.
Wash grease from the wall, remove loose material, patch holes, and flatten obvious bumps. If you find moisture damage near the sink, fix the source before tiling; plumbing problems may need attention before or during a kitchen sink installation.
Can You Install Backsplash Tile Directly on Drywall?
Backsplash tile can usually go directly over sound, clean, dry drywall in a normal kitchen backsplash area. You do not need backer board simply because the finish will be tile.
| Existing wall | Starting decision | Why |
|---|---|---|
| Sound, clean drywall | Usually keep it | It can provide a suitable backsplash base |
| Greasy or glossy painted wall | Clean and prep as required | Adhesive needs a sound bonding surface |
| Small holes or dents | Patch and flatten | Tile follows surface irregularities |
| Torn paper or weak drywall | Repair or replace the damaged area | Weak facing creates a poor bond |
| Moisture-damaged wall | Repair the moisture problem first | Tile should not hide active damage |
For drywall preparation, follow the setting-material instructions on whether painted drywall needs scuffing, priming, or another treatment. So, do you need backer board for a kitchen backsplash? Usually not over sound drywall, but it can be appropriate when the existing substrate is unsuitable or badly damaged.
If the wall is soft, moldy, crumbling, or repeatedly wet, stop. Installing backsplash on drywall in that condition only hides the cause.
Measure and Plan the Layout Before You Stick Any Tile
Measure the backsplash and dry-plan the tile before mixing adhesive. The right starting point is the one that produces balanced cuts at visible areas, not automatically the exact center of every wall.
Measure each rectangular section separately, multiply width by height, then add the areas. For the question “How much tile do you need for a backsplash?”, three current DIY installation guides reviewed for this article independently recommend starting with about 10% extra for normal cuts and waste.
Across the published figures reviewed for this article, three planning points were consistent enough to compare:
| Planning item | Published range | Midpoint | Guides |
|---|---|---|---|
| Extra tile allowance | 10% to 10% | 10% | 3 |
| Initial set before grout | 24 to 24 hours | 24 hours | 4 |
| Adhesive work section | 2 to 3 ft | 2.5 ft | 3 |
Use 10% as a planning allowance, not a guarantee. Herringbone, diagonal layouts, fragile tile, or many difficult cuts can create more waste.
Dry-lay one full row with the actual tile spacers. This reveals end cuts, outlet conflicts, and pattern centering before anything becomes permanent.
Check the countertop with a level. If it rises or falls, draw a true level reference line and trim the bottom row where needed.
Where Should the Tile Stop?
Choose every exposed ending before installation starts. A backsplash can end at the countertop edge, upper cabinet, tall cabinet, doorway, or another clear architectural line.
Plan the backsplash, countertop, and wall kitchen cabinets together. If an outlet lands on the intended ending line, solve that conflict during the dry layout.
To finish backsplash edges, choose bullnose tile or a suitable edge profile before setting the field tile.
Behind a freestanding range, use a level temporary ledger board if the tile needs support where no countertop exists. A ledger board is a straight support strip fixed below the tile area.
Tile behind a refrigerator only when it improves the visible finish. Plan under-cabinet lighting now too, because wiring, trim, and tile can compete for the same wall area.
How Do You Deal With Outlets and Faceplates?
To install backsplash around electrical outlets, turn off power, remove the faceplate, plan the cut around the electrical box, and keep the device screws accessible. Tile adds wall thickness, so the outlet must still finish correctly at the new surface.
Measure from the dry layout rather than guessing. A faceplate can hide a neat clearance gap, but it should not be the only thing covering an oversized cut.
Do not move boxes or alter wiring simply to make tile fit. If the new tile thickness leaves the device or box incorrectly positioned, use an approved correction and licensed electrical help where local rules require it.
Choose the Right Adhesive and Cutting Method
The right adhesive depends on tile material, size, wall surface, location, and the setting-material instructions. There is no universal rule that thinset mortar always beats tile mastic, or that premixed mastic works for every backsplash.
Thinset mortar is cement-based; tile mastic is a premixed organic adhesive for certain wall-tile uses. Current installation guides disagree on when each is preferable, so product compatibility should decide the choice.
Check approval for your tile and substrate, then follow the required trowel notch and coverage. A notched trowel forms controlled adhesive ridges.
Choose the cutter the same way. A manual cutter suits many straight ceramic cuts, while a wet saw can handle harder materials and repeated precision cuts.
Glass, Stone, and Specialty Tile Need Extra Care
How to install a glass tile kitchen backsplash can differ from standard ceramic installation. Glass can reveal the color and coverage of the setting material, and careless cuts can chip a visible edge.
Natural stone adds concerns such as porosity, staining, cutting, and possible sealing.
If you are researching how to install glass backsplash in a kitchen for a first tile project, check the glass and setting-material instructions together. Expensive glass, fragile stone, or complex mosaics may be poor beginner choices.
How to Install a Backsplash in the Kitchen Step by Step
The physical process for how to install a backsplash in the kitchen is straightforward once the planning is settled: mark reference lines, spread compatible adhesive, set and space the tile, make planned cuts, and let the installation cure before grouting. These same steps cover close searches such as how to install backsplash tile, how to tile a kitchen backsplash, or how to install a backsplash in your kitchen.
If you are learning how to install a tile backsplash in the kitchen, spend extra time on the first row. Every row above it depends on that reference.
1. Mark Your Reference Lines
Transfer the dry-layout marks to the wall. Draw a level horizontal line and any vertical line needed to control a range area, exposed edge, or repeating pattern.
Protect the countertop. Leave the movement gap required by your tile system rather than wedging tile tightly between fixed surfaces.
2. Spread Adhesive in Small Sections
Apply the approved adhesive with the correct notched trowel and comb consistent ridges as directed by the product.
Across three current DIY guides reviewed for this article, suggested work areas cluster around 2 to 3 feet at a time, with a midpoint near 2.5 feet. Treat that as a planning scale, not a product rule; heat, airflow, adhesive type, and working speed can shorten the open time.
If the adhesive forms a dry skin, remove it and spread fresh material instead of pressing tile into it.
3. Set and Space the Tile
Press each tile into the adhesive and use tile spacers where required. Check level, pattern, and joint alignment every few pieces.
Look across the tile faces too. Lippage means one tile edge sits higher than the next; correcting it while the adhesive is workable is easier than accepting an uneven finished surface.
Clean excess setting material from grout joints before it hardens.
4. Make Cuts at Edges and Obstacles
Measure each cut from the actual opening and installed tile. Do not assume two corners, cabinets, or electrical boxes are identical.
Use a manual cutter, wet saw, nippers, or another approved tool for the material and cut shape. Around outlets, keep the mounting points accessible so the device remains secure and serviceable.
For the range opening, keep following the level reference instead of the appliance itself.
The same core method applies to phrases such as how to install a tile kitchen backsplash, how to install a kitchen tile backsplash, and how to install a kitchen backsplash tile. Material-specific requirements are what change the system, not the word order of the search.
5. Let the Tile Set Before Grouting
Give the setting material its required cure time before grouting. Grout pressure and sponge cleanup can disturb tile that has not developed enough bond strength.
Across four numeric figures from current guides, the initial wait before grouting was consistently about 24 hours. That makes 24 hours a useful planning expectation as of August 2026, but the adhesive instructions remain controlling.
If you are deciding how to install a backsplash in the kitchen yourself, do not shorten this wait simply to finish in one day. If the product requires longer, follow the product.
Grout, Caulk, and Seal the Backsplash Correctly
Grout fills the planned joints between tiles, while flexible sealant belongs at movement joints where adjoining surfaces can shift relative to each other. The countertop seam and inside changes of plane should not automatically be treated like ordinary grout joints.
Apply grout with a grout float and press it fully into the joints. Clean the tile with a damp sponge at the stage specified by the grout instructions without flooding fresh grout with water.
Remove remaining grout haze within the product’s cleanup window. A thick film becomes harder to remove after it cures.
If you are asking whether backsplash should be grouted or caulked at the countertop, the issue is movement. Tile-industry technical guidance calls for flexible movement accommodation at changes of plane and where tile meets restraining surfaces.
Use a compatible flexible sealant, often silicone caulk, where the tile system requires it. The same care matters around sink areas, where water quickly exposes failed perimeter joints.
Do not assume every grout needs sealer. Some cement-based grout systems may call for it, while some other grout types do not require a separate grout sealer. Check the grout and tile instructions before sealing.
Cost, Common Mistakes, and When to Hire a Pro
DIY can reduce backsplash labor cost, but the advantage shrinks when the wall needs major repair, the tile needs specialist cutting, or electrical work enters the job. A simple ceramic backsplash over sound drywall is a very different project from glass mosaics around several outlets.
How Much Does a Kitchen Backsplash Cost to Install?
One national home-services cost guide updated in July 2026 lists roughly $100 to $500 for DIY supplies and about $600 to $1,300 for professional installation. It also lists about $15 to $40 per square foot for installation within its stated scope.
Prices as of July 2026 vary by region, tile material, pattern, wall repair, electrical work, and whether materials are included. These are planning figures from one published cost source, not a multi-source national average.
When comparing DIY with how much to install a kitchen backsplash professionally, include tool rental, extra tile, adhesive, grout, trim, sealant, and wall repair. Backsplash installation cost rises when the layout adds many precision cuts.
Peel-and-stick can suit simple projects, but it is not equal to tile in every setting and still needs a smooth, clean surface, much like other peel-and-stick installation projects.
Mistakes That Cause the Most Rework
- Skipping the dry layout can leave tiny slivers at a visible edge.
- Following an uneven countertop can send every row out of level.
- Spreading too much adhesive can let it skin over before tile is set.
- Choosing adhesive for convenience instead of compatibility can cause bond problems.
- Grouting every corner can create rigid joints where movement needs accommodation.
- Planning outlets after tile reaches them can create poor cuts or electrical complications.
These backsplash installation mistakes get expensive because later steps cover the original error. Correcting a bad reference line after tile cures is no longer a pencil-and-level fix.
When Professional Help Makes More Sense
A homeowner with sound drywall, simple ceramic tile, a straightforward pattern, and ordinary cuts may reasonably handle a DIY backsplash. The project becomes less beginner-friendly with water damage, extensive wall repair, expensive glass or stone, many precision cuts, or electrical alterations.
Stop if the project requires electrical changes beyond work you are qualified and legally permitted to do. Permit and licensing rules vary by jurisdiction, so use a licensed electrician where required.
Professional tile help can also make financial sense with fragile or costly material. Replacing damaged glass or stone and correcting a failed layout can erase much of the DIY savings.
Conclusion
The safest way to approach how to install a backsplash in the kitchen is to solve the wall, layout, outlet, and material decisions before opening the adhesive. Once those choices are right, setting and grouting the tile becomes much more predictable.
Start by checking the wall and dry-laying one complete row with spacers. If that row finishes cleanly at both ends and around outlets, you are ready to move into installation.




One thought on “How to Install a Backsplash in the Kitchen: DIY Steps”