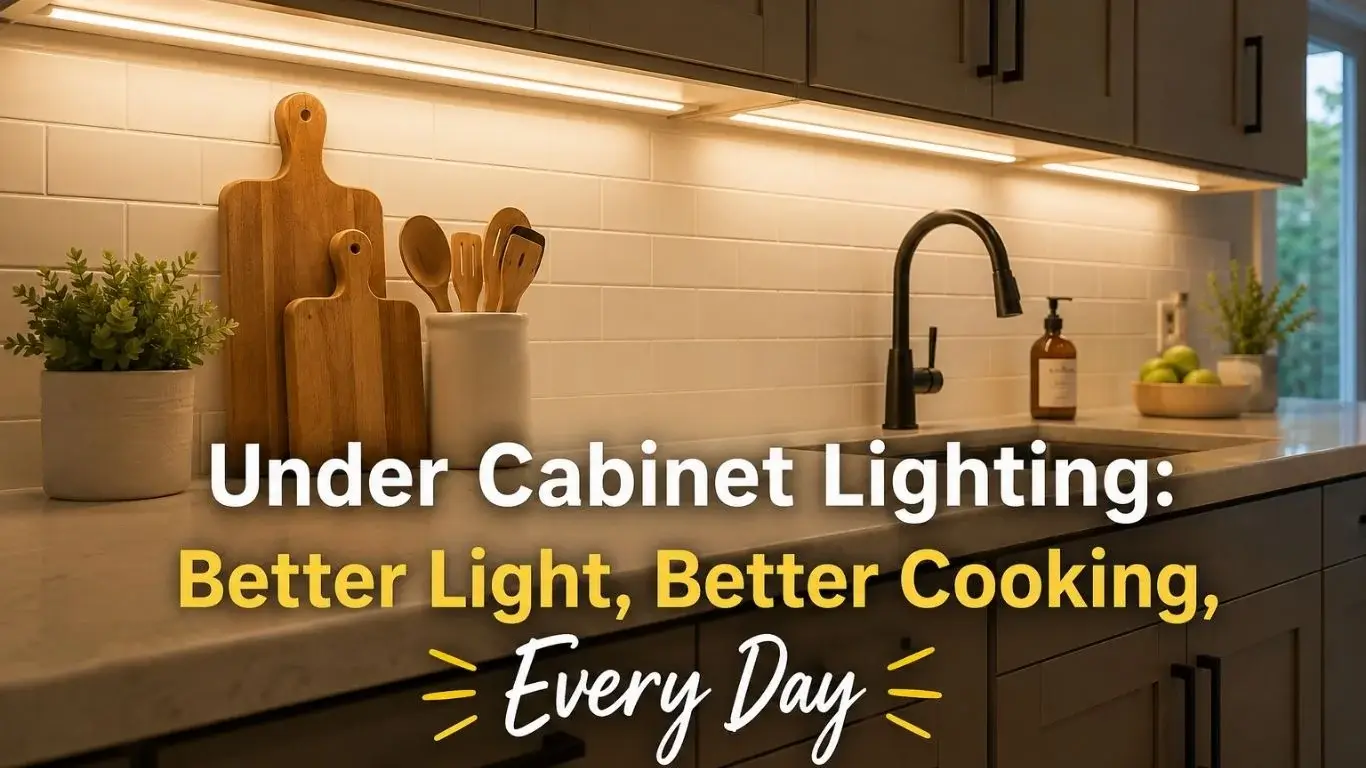
Kitchen under cabinet lighting fixes one specific problem: the shadow you cast on your own counter every time you stand between the ceiling light and the cutting board. Overhead fixtures light the room. They rarely light the surface where you actually work. Adding light beneath the upper cabinets puts it exactly where your hands are.
By the end of this page you will know which fixture type suits your counter, whether you need an electrician, where to mount the lights, and what the whole job should cost. The choice is simpler than product listings make it look.
Quick Answer: What to Choose and What It Costs
Kitchen under cabinet lighting works best as a diffused LED strip in an aluminum channel. Expect to pay $200 to $800 installed, based on published figures from four cost sources as of August 2026.
- LED strips light evenly. Puck lights leave dark gaps.
- Mount 2 to 4 inches back from the cabinet front edge.
- Choose 3000K for warm light, 4000K for sharper task light.
- Plug-in and battery are DIY. Hardwired needs a licensed electrician.
- Budget about $265 per fixture for professional labor.
Start With the Light You Want, Not the Fixture
Pick the light pattern first, then pick the hardware. There are only two patterns: a continuous line of light, or separate pools with gaps between them.
A continuous line washes the counter evenly, with no bright spots and no scallop shapes on the backsplash. Separate pools look dramatic and suit display shelving, but they leave stretches of counter dimmer than the rest.
Most people searching for kitchen lighting ideas want the first pattern and buy hardware that produces the second. That mismatch causes most of the disappointment with under cabinet lights.
The Four Types of Under Cabinet Lighting Compared
Four fixture types dominate kitchen under cabinet lighting: LED strip lights, puck lights, linear light bars, and fluorescent tubes. Strips and bars produce continuous light, pucks produce pools, and fluorescent no longer competes on light quality or lifespan.
LED strip lights are flexible tapes with small diodes spaced along them. They cut to length at marked points and stick on with adhesive backing. COB strips, short for chip-on-board, pack the diodes so tightly that the light reads as a solid line rather than a row of dots.
An under cabinet light bar is a rigid fixture, usually 9 to 36 inches long, that screws to the cabinet underside. Many link together, so one power feed runs a whole cabinet run.
| Type | Light on the counter | Best for | Weak for |
|---|---|---|---|
| LED strip | Continuous, even line | Long runs, unbroken look | Sticks poorly to greasy or textured surfaces |
| Under cabinet light bar | Continuous, slightly segmented | Quick installs, durability | Fixed lengths leave gaps at cabinet ends |
| Puck light | Separate pools with gaps | Glass cabinets, display shelves | Task lighting on a counter run |
| Fluorescent tube | Flat, often harsh | Almost nothing in a home kitchen now | Color accuracy, lifespan, dimming |
Why puck lights leave dark spots on a long run
Puck lights throw a cone of light straight down. Published spacing guidance from three retail and manufacturer sources puts them 8 to 12 inches apart. At that spacing the cones overlap only near the counter surface, so you see bright circles with dimmer bands between them.
On a 10-foot run you get a repeating pattern of light and shade across your work surface. That is the most common regret people describe afterward. Puck lights are a poor task light and a good accent light.
What Kitchen Under Cabinet Lighting Costs in 2026
Published totals for this job run from under $50 to over $1,200, which looks like disagreement until you check what each number covers. Across four published cost sources, the range for a professionally installed job runs $200 to $800, with figures clustering near $400.
The low outlier is materials only. One source publishes $7 to $50 for a DIY strip kit, which is the tape and nothing else. The high outlier, $500 to $1,200, is a hardwired system including labor, a new circuit, and permit costs. Both are accurate for what they measure.
Reading through these cost guides, one pattern stands out: some quote a price per fixture while others quote a price per project. That is why two published numbers for the same kitchen can look three times apart. Check which unit a quote uses before comparing it to anything.
| What you are buying | Published range | Midpoint | Sources |
|---|---|---|---|
| LED strip, per linear foot | $20 to $50 | $35 | 5 |
| Puck light, per unit | $10 to $50 | $30 | 4 |
| Under cabinet light bar, per fixture | $25 to $150 | $88 | 3 |
| Professional labor, per fixture | $230 to $300 | $265 | 3 |
Figures published as of August 2026. Prices vary by region and by whether labor is included.
The labor figure is the tightest cluster in the set, which makes it the most reliable planning number here. The puck light range is the loosest, and the reason matters. Comparing retailer listings shows the $10 end is a battery adhesive puck, while the $50 end is a hardwired low-voltage fixture needing its own driver. Those are different products sharing a name.
Run the numbers on your own kitchen
Measure the upper cabinet you want lit, in linear feet. Multiply by $35 for strip materials at the published midpoint. If you are hardwiring, add about $265 per fixture for labor.
Quotes often leave out the dimmer switch, the channel, the driver, and drywall patching. Ask which are included before comparing two bids.
Hardwired, Plug-In, or Battery: Do You Need an Electrician?
Plug-in and battery systems are safe DIY projects. Hardwired systems need a licensed electrician in most jurisdictions, because the work involves opening walls and connecting to house circuits. The rest is which trade-off you want.
Plug-in systems draw from an existing outlet through a small transformer, called a driver, that steps 120-volt house current down to 12 or 24 volts. You lose an outlet and may see a cord. Running it to an outlet inside a base cabinet hides most of it.
Hardwired systems look cleanest and switch from the wall, but they cost the most and disrupt the most. If your walls are already open for a remodel, hardwiring adds little. If they are not, the drywall work is the real expense.
One code point almost every guide skips: hardwired kitchen under cabinet lighting cannot share the small-appliance branch circuits that feed your countertop outlets. It needs a separate lighting circuit. Adding one usually requires a permit and an inspection, and rules vary by city and county, so confirm with your local building department before scheduling work.
Battery and rechargeable units need no wiring at all. They suit renters, a wet bar, or a pantry, and motion sensor versions switch on when you reach in. Published battery life runs 20 to 50 hours per set of cells, which frustrates on a main prep counter.
Placement, Color Temperature, and Brightness That Work
Mount the fixture 2 to 4 inches back from the front edge of the cabinet, not against the wall. Published placement guidance is consistent on this, and the reason is simple. A light mounted at the back throws most of its output onto the backsplash and leaves your hands in shadow.
Front-edge mounting also keeps the diode out of your sight line at the counter. If you can see the light source while working, glare will bother you every evening.
For brightness, aim for 250 to 500 lumens per foot of counter. Only two published sources put a number on this, so treat it as a starting point rather than a settled standard. A dimmable driver matters more than raw output, because you rarely want full brightness late at night.
Warm or neutral: which suits your kitchen
Five published sources agree on 3000K to 4000K for kitchen task lighting, which is unusually strong consensus. Below 3000K the light turns yellow enough to distort how food looks. Above 4000K it reads blue and clashes with the warmer lamps elsewhere in most homes.
Pick 3000K if you want a warm glow that flatters wood cabinets and evening meals. Pick 4000K if you do detailed prep and want sharper contrast. Then use that same color temperature for the entire run, because mixing two on one cabinet line is instantly visible.
Look for a color rendering index of 90 or above, printed as CRI 90+ on the box. Three published lighting sources set this as the residential standard. Low-CRI light makes tomatoes look dull and stone countertops look flat.
How to Hide the Wires and Why the Channel Matters
Cords are the part people notice. Run the cable along the back edge of the cabinet underside in a self-adhesive wire channel. Drop it down the back corner toward the outlet, and hide the driver inside an upper cabinet.
The aluminum channel that holds the strip is sold as trim, and it is not trim. It does two jobs. It pulls heat away from the diodes, which protects the rated lifespan, and its frosted cover, called a diffuser, blends individual dots into one clean line.
Skipping the channel is the cheapest way to make a good strip look like a budget one. Bare LED under cabinet lights show a visible row of dots reflecting off a glossy backsplash. Choosing the right kitchen light fixtures matters less than mounting them properly.
Mistakes That Are Expensive to Undo
Mounting to the back of the cabinet tops this list. The lights work, the counter stays shadowed, and fixing it means removing adhesive and remounting everything.
Sticking strips to a greasy cabinet underside is next. Kitchen surfaces carry a film of cooking residue that adhesive cannot grip. Clean with a degreaser and let it dry fully, or the strip will drop within months.
Two more worth naming. Spacing pucks across a long prep counter guarantees the dark-band pattern above, and no dimmer fixes it. Battery fixtures on a daily-use counter mean changing cells every few weeks, which is the habit people abandon first.
Frequently Asked Questions
Why do my under cabinet lights flicker when I dim them?
The dimmer does not match the driver type in your fixture. LED drivers come in TRIAC, ELV, and 0-10V versions, and each needs a dimmer rated for it. A standard incandescent dimmer will strobe or buzz on an LED load. Check the fixture’s listed dimmer compatibility before buying either part. A loose wire connection causes the same symptom.
How long do under cabinet LED lights actually last?
Rated life runs 25,000 to 50,000 hours, which works out to roughly 15 to 30 years at three hours of daily use. Real life falls short of that when heat has nowhere to go. A strip stuck directly to wood with no aluminum channel runs hotter and dims sooner than its rating suggests.
Can I install under cabinet lighting in a rental without damage?
Adhesive strips and battery pucks leave the fewest marks, and magnetic fixtures leave none at all. Warm the adhesive with a hairdryer before peeling to avoid pulling cabinet finish. Skip screw-mounted bars and anything hardwired. Test the adhesive on a hidden spot first, since some cabinet finishes lift more easily than others.
What to Do Next
For most kitchens, buy a diffused LED strip in an aluminum channel and choose 3000K. Mount it 2 to 4 inches back from the cabinet’s front edge. Run it plug-in unless your walls are already open.
Before pricing anything, measure your total upper cabinet run in linear feet. Every quote for kitchen under cabinet lighting depends on that one number.

One thought on “Kitchen Under Cabinet Lighting: Types, Costs & Install Guide”