
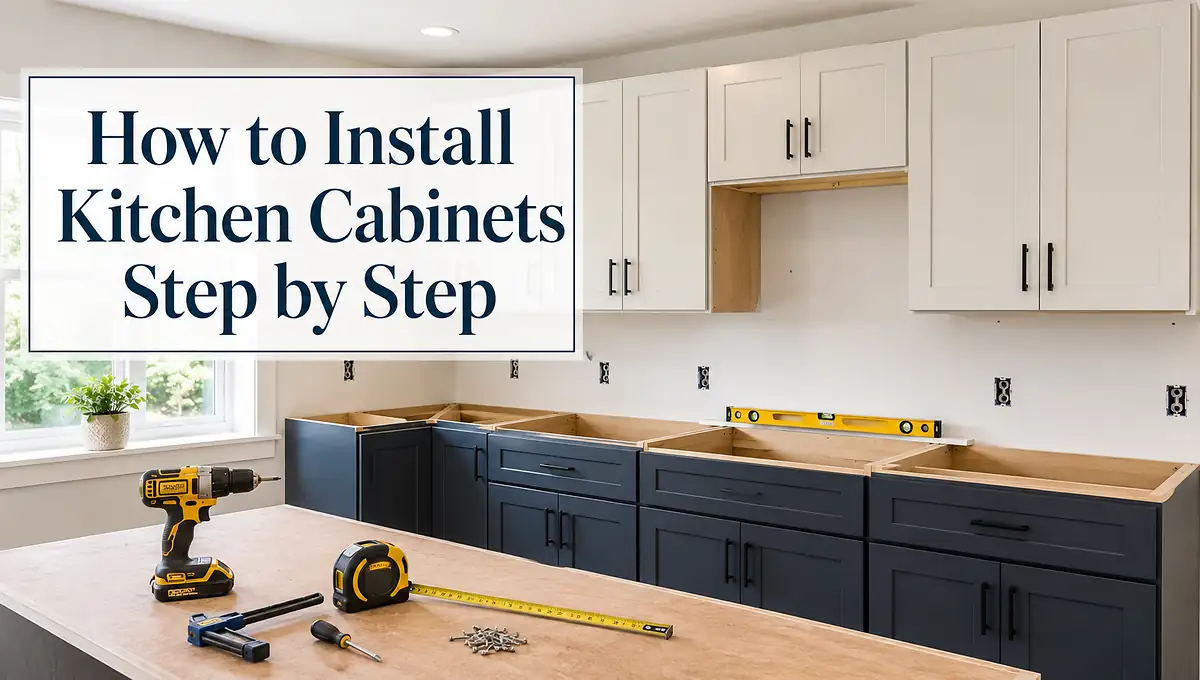
Learning how to install kitchen cabinets starts with one rule: the first cabinet sets the accuracy of the whole run. If that box is too high, out of plumb, or pulled against a crooked wall, later cabinets inherit the problem.
A careful DIY homeowner can handle a straightforward installation with the right support and measuring tools. The job becomes less forgiving with tall units, uneven rooms, unfamiliar wall construction, or rail-mounted systems. By the end, you should know how to lay out, mount, level, join, and inspect the cabinets, plus when professional help is the safer decision.
Quick Answer
To learn how to install kitchen cabinets, first confirm the cabinet mounting system, then find the floor’s highest point and mark level layout lines. Install and align the upper cabinets, followed by the base cabinets, unless the manufacturer specifies another sequence.
- Use structural fastening points approved for the wall and cabinet system.
- Support upper cabinets with a helper, cabinet jack, or temporary ledger.
- Shim low floors and gaps behind mounting points.
- Protect filler and appliance clearances before final tightening.
- Check the full base run before countertop templating.
Can You Install Kitchen Cabinets Yourself?
You can install cabinets yourself when the layout is straightforward, the wall construction is known, and you can safely support the upper boxes. For a simple room, learning how to install kitchen cabinets is realistic if you measure carefully and follow the specified mounting method.
The main benefit is saving installation labor while controlling the pace of the work. A current July 2026 estimate puts professional kitchen cabinet installation at about $50 to $450 per linear foot, excluding the cabinets. Prices vary by region, cabinet type, layout, and project scope.
DIY has limits. Large pantry cabinets, severe floor slopes, masonry or metal-stud walls, and unfamiliar suspension systems can turn a reasonable project into a structural risk. Use a capable helper or cabinet jack for heavy upper cabinets.
If you are replacing an existing run, the broader cabinet planning guide can help confirm cabinet types and layout before installation.
Stop if you cannot identify a manufacturer-approved way to secure the cabinets. Improvised anchors or general-purpose screws are not a safe substitute for a verified mounting method.
How to Install Kitchen Cabinets: Tools and Layout
Successful cabinet installation begins before any cabinet reaches the wall. Inspect every box, confirm the order matches the layout, and check appliance, sink, and filler locations.
If you have ready-to-assemble (RTA) boxes, assemble them according to their instructions first. Remove doors, drawers, and loose shelves when possible to reduce weight. The same installation principles still apply to RTA cabinet boxes.
Keep these tools close:
- A long level or laser level
- Tape measure, pencil, and straightedge
- Stud finder
- Drill/driver and the specified bits
- Cabinet clamps and wood shims
- A helper, cabinet jack, or temporary ledger
- Manufacturer-approved mounting and joining fasteners
A ledger board is a temporary straight support fixed below wall cabinets while you position them. A suspension rail is different: it is part of the cabinet’s permanent mounting system, and the cabinet hangs from it.
Current cabinet systems use both methods. Rail-mounted cabinets require their specified suspension rail and fasteners suited to the wall material, while many direct-mounted systems fasten through reinforced cabinet areas into framing. Do not mix instructions between systems.
Find the True High Point of the Floor
Find the highest floor point across the entire base-cabinet footprint, not only along the wall. Check near the back and near the front edge of the future cabinets because the floor can rise away from the wall.
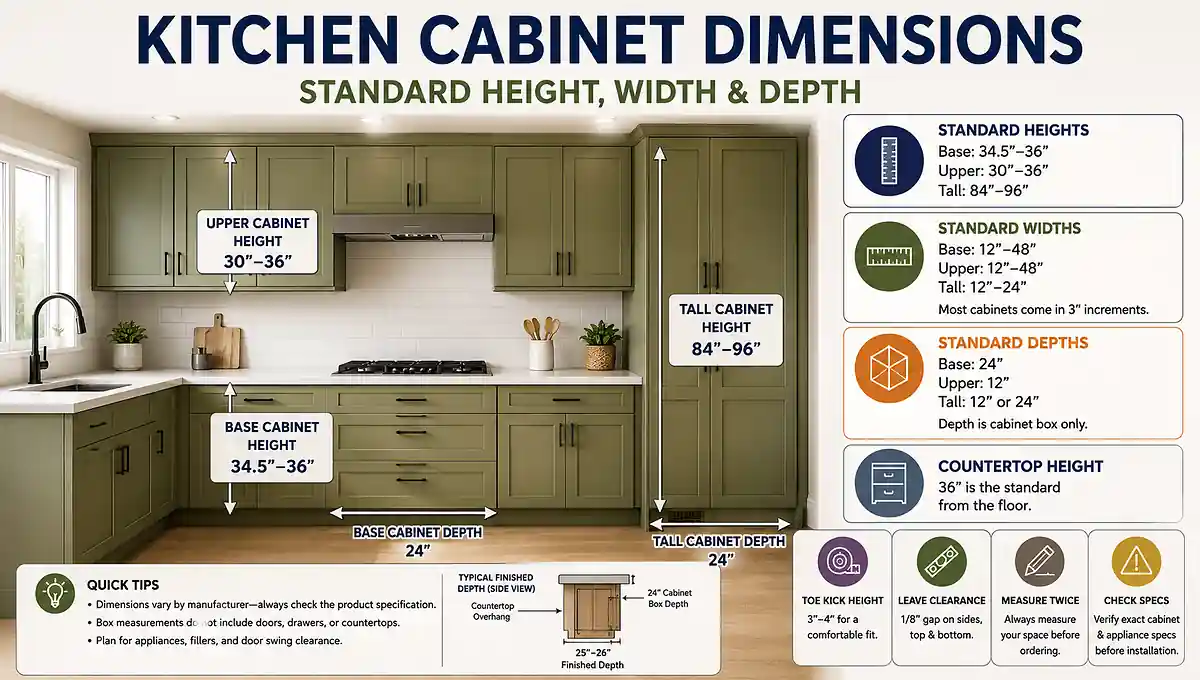
A current manufacturer installation guide uses 34 1/2 inches from the floor high point as the top reference for its standard base cabinets. The same instructions tell installers to verify dimensions against the project’s design elevations, so do not treat that number as universal.
Finished flooring thickness, actual cabinet dimensions, countertop plans, and appliance requirements can change the setup. Draw a level base-cabinet reference line from the correct high point.
Mark cabinet widths, appliance openings, sink position, fillers, and structural fastening locations before lifting boxes. The cabinet type guide can help distinguish the different clearance and lifting needs of base, wall, and tall units.
Do Not Treat 54 Inches as a Universal Rule
About 54 inches from the floor high point is a common bottom reference for wall cabinets in conventional layouts. One manufacturer guide uses 53 7/8 inches, while another mainstream installation guide uses 54 inches.
That does not make 54 inches a universal mounting height. Suspension-rail systems locate the rail differently, while countertop thickness, backsplash plans, range or hood clearances, tall cabinets, soffits, and ceiling height can change the layout.
Use the design elevation or installation drawing supplied for your cabinet system.
How to Install Upper Kitchen Cabinets
For many conventional installations, upper cabinets go in before base cabinets because the open floor gives you room for a ladder, drill, helper, or cabinet jack. Follow another sequence if your cabinet system specifically requires it.
Set the First Wall Cabinet
Start with the corner cabinet or fixed starting point shown on the layout. On a direct-mounted system, a level ledger can support the cabinet’s lower edge while you work.
Lift the cabinet into position and check it against the layout lines. Level means horizontally true; plumb means vertically true.
If the wall bows away behind a mounting point, place a firm shim in that gap. Without support, tightening the screw can pull the cabinet toward the wall and rack, or twist, the box.
Secure the cabinet only through approved structural mounting areas. Do not assume one screw length or anchor works for wood studs, masonry, metal framing, and suspension rails. Current manufacturer instructions can specify particular fasteners for wood studs while directing other wall types to a different fastening method.
Align and Join the Next Cabinet
Set the next wall cabinet beside the first and check it independently. Clamp the adjoining faces or cabinet sides until the visible front and lower edges sit flush.
A face frame is the solid frame attached to the front of a framed cabinet box. Frameless cabinets lack that front frame, so their cabinet-to-cabinet connection points can differ.
Check the framed versus frameless comparison if you are unsure which construction you have.
Drill pilot holes where the instructions require them, then join the cabinets with the specified fasteners. Recheck the entire run with a long level after every few boxes because a small error can grow across several cabinets.
How to Install Base Kitchen Cabinets
Base cabinets must form one stable, level plane for the countertop. Start at the planned corner or fixed end and work outward without fully tightening the whole run too early.
Dry-Fit the Run Before Final Fastening
Place the main base cabinets in position before final fastening. A dry fit means setting the boxes where they belong without permanently securing everything.
Check:
- appliance opening widths
- end and wall fillers
- corner clearances
- door swings
- drawer-pull clearance
- tall cabinet positions
Do not remove a planned filler simply because its gap looks unnecessary. That space may prevent a door, drawer, or handle from hitting the wall or neighboring cabinet.
Set the first base cabinet to the reference line. Shim under solid support areas where the floor drops, then check level from side to side and front to back.
Where a wall bows, shim behind the cabinet at the structural fastening point. Tighten the wall screw only enough to hold the box until neighboring cabinets are aligned.
Set the next cabinet, level it independently, clamp the fronts flush, and join the boxes. Keep checking appliance openings after shimming because usable width can change as the run moves.
Cut the Sink-Base Openings Before Final Attachment
A sink base often needs openings for the plumbing rough-in, meaning the planned pipe and drain locations already brought into the cabinet area. Transfer those positions carefully before the cabinet becomes difficult to move.
Cut round penetrations with the appropriate hole saw. Use a jigsaw for larger planned openings when the cabinet instructions allow it.
Do not turn cabinet installation into DIY gas, electrical, or regulated plumbing work. Local licensing and permit requirements vary, so use the appropriate licensed trade when required.
Once the base is secure and correctly positioned, the later sink installation process depends on those openings remaining accessible.
How Do You Level Cabinets on an Uneven Floor or Wall?
Keep the cabinet run straight even when the room is not. Shims support low spots and wall gaps so the cabinets do not have to follow a crooked floor or bowed wall.
| Check | Meaning | What to inspect | Typical correction |
|---|---|---|---|
| Level | Horizontally true | Cabinet tops | Shim the low side |
| Plumb | Vertically true | Cabinet sides | Shim behind mounting points |
| Square | Corners remain at 90 degrees | Cabinet box and corners | Reposition or shim |
| Flush | Adjacent surfaces align | Cabinet fronts and edges | Clamp and adjust |
Place shims where they provide real support. Randomly filling every visible gap can make later adjustments harder.
The most important wall shim sits near a structural fastening point. It fills the void so tightening the mounting screw secures the cabinet without bending it toward the wall.
Do You Need Cabinet Fillers or Spacers?
A filler strip is a fitted piece that closes intentional space beside a cabinet. It can also create working clearance for a door, drawer, pull, wall, appliance, or blind corner.
Do not remove a planned filler only to make the cabinet run look tighter. A small gap before installation can prevent a door handle from striking a wall afterward.
If the wall is uneven, scribe the filler rather than tilting the cabinet. Scribing means shaping the filler edge to follow the wall while the cabinet stays plumb.
Do Cabinets or Flooring Go in First?
The correct order depends on the flooring system. Floating floors normally go around fixed kitchen cabinets because the floor needs room to expand and contract instead of being pinned beneath permanent cabinetry. Current floating-floor guidance specifically warns against permanently loading the floor with kitchen cabinets.
When a floating floor will be installed later, include the flooring and underlayment thickness in the cabinet-height plan. Otherwise, the finished floor can rise in front of a dishwasher and make the appliance difficult to install or remove.
Some fixed flooring systems can run beneath cabinets, so do not apply the floating-floor rule to every material. Follow the flooring manufacturer’s installation method and coordinate it with the cabinet plan.
Check Everything Before the Countertop Goes On
Do not use the countertop to hide cabinet errors. The base run should already be structurally secure and in one consistent support plane before templating or installation.
Check these items first:
- Cabinet tops stay level across the full run.
- Every box is secure and still plumb.
- Appliance openings match the actual appliance requirements.
- Fillers give doors, drawers, and pulls enough clearance.
- Sink and utility openings remain usable.
- Doors and drawers operate without collisions.
- End panels and exposed cabinet positions match the plan.
Countertop support requirements vary by material and fabricator. One current engineered-stone technical guide requires support without deflection and limits its support structure to 1/8 inch out of plane over 8 feet.
Correct a proud cabinet, loose shim, bad filler, or closed appliance opening before templating. After the countertop spans several boxes, moving one cabinet can become far harder.
Reinstall doors and drawers after the heavy work is finished, then adjust hinges and drawer fronts until the visible gaps look even. Install the toe kick, the finished panel covering the recess at the cabinet base, at the appropriate finishing stage.
If the project includes under-cabinet lighting, confirm access to its electrical rough-in before trim blocks the area.
Final Recommendation
The safest way to learn how to install kitchen cabinets is to treat layout and structural support as the real job. Find the true floor high point, follow the cabinet’s mounting system, and use shims to support gaps instead of forcing boxes against crooked surfaces.
Before the countertop is measured, verify alignment, fillers, appliance openings, and fasteners one last time. If the wall construction or mounting method is uncertain, stop and get qualified help rather than guessing.

One thought on “How to Install Kitchen Cabinets”