
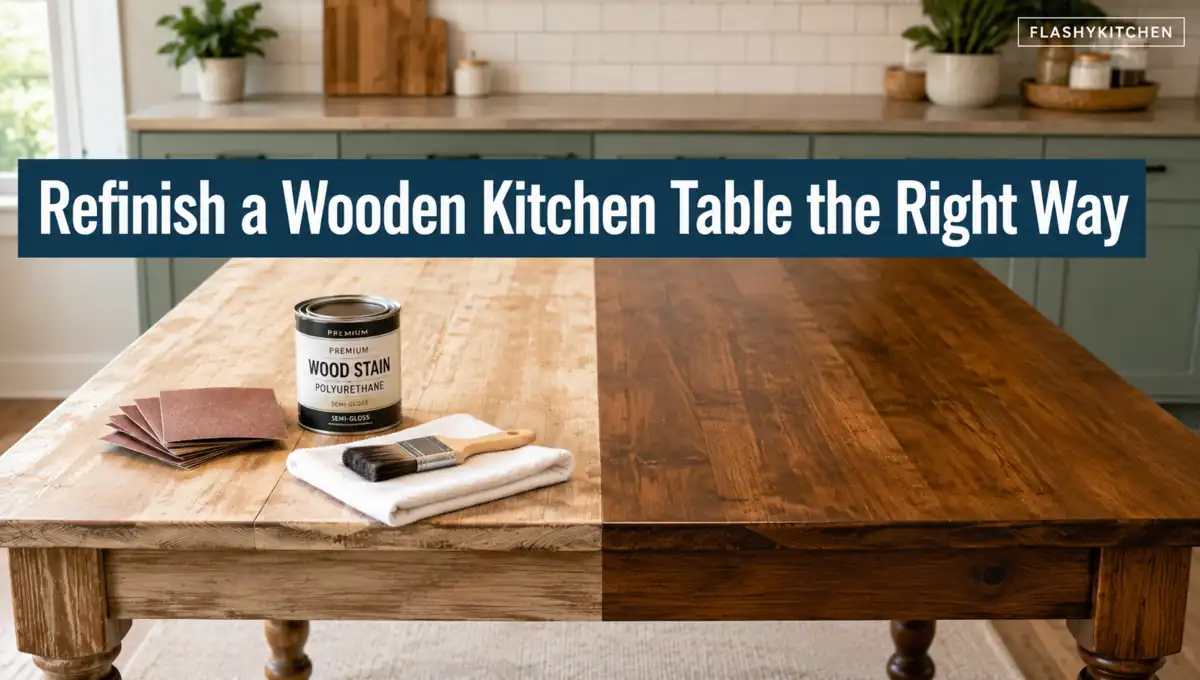
Learning how to refinish a wooden kitchen table starts with one decision: how much of the existing surface can you safely remove? A solid-wood top can usually handle more sanding, while veneer needs a lighter touch.
Once you know what you have, clean the table, remove the failing finish, repair damage, sand evenly, decide whether stain is needed, and protect the wood with a durable topcoat.
The goal is not to erase every mark at any cost. It is to improve the table without sanding through veneer, trapping a bad stain job, or creating a finish that stays soft.
Quick Answer
To understand how to refinish a wooden kitchen table, identify whether the top is solid wood or veneer before sanding. Clean the surface, remove only the failing finish, repair damage, test any stain, and apply a compatible protective coating. If the finish is sound, a light recoat may be enough. Stop before aggressive sanding if the table has thin veneer, structural damage, or unknown old paint.
- Check the surface construction.
- Clean before finish removal.
- Sand only as needed.
- Test stain in a hidden area.
- Let the topcoat fully cure.
How Do I Know If My Table Is Solid Wood or Veneer?
Solid wood gives you more material to work with. Wood veneer is a thin real-wood face bonded over a core, so aggressive sanding can expose the material underneath.
Inspect the table edge, underside, leaf openings, and any unfinished areas. Grain that continues through the thickness can suggest solid wood, while a thin wood layer over a different core suggests veneer.
| Surface | Sanding tolerance | Better starting approach | Main risk |
|---|---|---|---|
| Solid wood | Higher | Sand or strip as needed | Removing unnecessary wood |
| Wood veneer | Limited | Strip or sand lightly | Sanding through the face |
| Laminate/composite | Very limited | Recoat or paint if suitable | Damaging the decorative layer |
Do not use style as proof of construction. A heavy farmhouse kitchen table may be solid wood, veneer, or a mix.
The same check matters with other kitchen furniture materials. If you are unsure, start conservatively because removing too little finish is easier to fix than sanded-through veneer.
Should You Sand or Strip the Old Finish?
Sand a thin, worn finish when the tabletop can handle it. Use a compatible chemical stripper when thick varnish, paint, or several old layers would require too much sanding.
Clean the table first. Kitchen tables collect grease, wax, polish, food residue, and cleaner buildup that can interfere with stain and clear-coat adhesion.
Once the surface is dry, inspect the coating. A thin, patchy finish on solid wood may only need sanding, while thick varnish or multiple layers may be easier to strip first.
Veneer needs extra caution. Reducing heavy sanding can preserve more of the thin decorative face.
Follow the stripper label for ventilation, gloves, eye protection, dwell time, and cleanup. Never mix stripping products.
You also do not need to reach bare wood for every project. If the existing coating is firmly bonded and you only want to renew protection, cleaning, light sanding, and a compatible recoat may be enough.
A major color change is different. Dark pigment can remain deeper in the wood, and chasing every dark patch can remove too much material.
How Much Should I Sand, and When Should I Stop?
There is no universal sandpaper sequence for how to refinish a wooden kitchen table. The starting grit depends on the old coating, the surface thickness, and what the next stain or finish requires.
Think about sanding in three stages:
- Coarse paper removes stubborn coating only when necessary.
- Medium-grit paper removes scratches from the first step.
- Fine-grit paper prepares the surface for the next finish.
An orbital sander works well on broad, flat solid wood. Keep it moving and use light pressure so you do not create dips or swirl marks.
Use a sanding block around edges and shaped details. A round kitchen table needs extra care because aggressive edge sanding can change its profile.
Vacuum dust between grit changes. For final hand sanding, follow the wood grain where practical.
Stop when the failing coating is gone, the surface is even, and scratches from the previous grit have disappeared. Do not keep sanding just because one old stain or water mark remains.
With veneer, stop sooner. A faint imperfection is usually better than exposing the core beneath the wood face.
Repair Damage Before You Choose a Stain
Repair damage after the old finish is removed because bare wood makes scratches, dents, gouges, and loose areas easier to judge. Some light scratches disappear during sanding, while deeper damage needs separate repair.
Use compatible wood filler only where material is missing. Filler can absorb stain differently from natural wood, so large repairs may remain visible.
Loose joints, severe warping, or lifting veneer are repair problems before they are finishing problems. Do not hide structural damage under stain and polyurethane.
This is also the point to decide whether the whole table needs work. If only the tabletop is worn, refinishing the top alone can save time and preserve a base that still looks good.
Do You Need to Stain the Table?
No. Stain is optional, and skipping it may be the better choice if you like the freshly sanded wood.
Stain changes color; the protective topcoat provides most of the resistance to spills and wear. A clear finish can protect suitable bare wood without making it darker.
If you want stain, test it underneath the top or in another hidden area first. Wood species, old pigment, sanding grit, and previous treatment can change the final color.
Do not judge the result from wet stain alone. The color changes as it dries and again after the clear coat goes on.
Wood conditioner can help some woods absorb stain more evenly, but it is not required for every table. Use it only when the stain system calls for it.
Apply stain as directed and remove excess. Do not automatically sand between stain coats because some products specifically tell you not to.
Choose a Finish That Can Handle Kitchen Use
A good kitchen-table finish must be compatible with the surface below it and tolerate frequent wiping, spills, and normal abrasion. Polyurethane is common because it forms a protective film over the wood.
Water-based polyurethane usually changes pale wood less. Oil-based polyurethane adds a warmer amber tone.
Neither is automatically better. Compare compatibility, color change, ventilation needs, sheen, recoat instructions, and curing time.
Satin is practical for many kitchen tables because it shows minor scratches and fingerprints less than a glossy surface. Semi-gloss gives more shine but makes defects easier to notice.
Do not copy another tutorial’s coat count. The correct number depends on the finish you are using.
Apply thin, even coats. Many clear finishes call for light sanding between dried coats, while others use a specific recoat window.
This is one of the most important parts of how to refinish a wooden kitchen table correctly: follow the clear-coat instructions instead of mixing rules from different products.
Dry Is Not the Same as Cured
A finish can feel dry and still be too soft for normal kitchen use. Recoat time tells you when another layer can go on; full cure tells you when the coating has developed much more of its final hardness.
Do not use a generic 24-hour rule. Check the product label for recoat time, light-use guidance, and full cure.
Heavy objects, tight covers, and warm dishes can mark a finish that has not fully cured. Use trivets for hot cookware even after curing.
If food may touch the tabletop directly, confirm that the fully cured coating is suitable for that intended use.
Can You Refinish a Table Without Stripping It?
Yes, if the existing coating is sound and you are refreshing protection rather than removing deep damage or making a major color change. In that case, cleaning, light sanding, and a compatible recoat may be enough.
This is closer to refreshing the finish than a full bare-wood restoration.
It will not remove deep scratches, damaged veneer, or a dark stain you want to turn pale.
A tabletop-only refinish is another useful option when the base and legs still look good. The main limitation is color matching because fresh wood may not match an aged base exactly.
The same issue can appear with a table with bench. Test the stain on both pieces if you want them to finish at a similar tone.
Common Mistakes That Ruin a Refinished Table
Most bad results come from removing too much material, rushing preparation, or treating every finishing product the same. These mistakes are easier to prevent than repair.
Avoid these problems:
- Sanding veneer as aggressively as solid wood
- Skipping grit progression and leaving deep scratches
- Staining over patches of incompatible old finish
- Adding stain when the natural wood already looks better
- Sanding between stain coats without checking the label
- Applying thick clear coats to save time
- Using the table before the finish has fully cured
Do not chase perfection in damaged wood. A faint mark can look better than a low spot or exposed veneer caused by aggressive sanding.
Do not combine stain, sealer, and topcoat products without checking compatibility.
Safety Issues You Should Not Skip
Sanding creates fine wood dust, while strippers, stains, and some clear finishes release vapors. Use suitable ventilation and the eye, skin, and respiratory protection required by the product and task.
Old painted furniture needs extra care. If the paint is old or its history is unknown, address the possibility of lead before dry power sanding.
Oil-based stains and finishes create another risk. Rags wet with drying oils can heat as they cure, so never leave them crumpled in a pile.
Follow the product’s disposal directions. General kitchen safety tips also apply when power tools, dust, solvents, and combustible products are used around the home.
What Will the Project Cost?
The cost of learning how to refinish a wooden kitchen table yourself depends mainly on what the surface actually needs. A simple solid-wood top may require only cleaner, sandpaper, a clear finish, and basic applicators.
A more involved project can add chemical stripper, wood filler, stain, conditioner, extra sanding supplies, and protective equipment.
Professional work adds labor and may also include veneer repair, structural work, difficult stripping, color matching, or specialized finishing.
Price should not be the only factor. A low-cost DIY job becomes expensive if aggressive sanding ruins a thin veneer top.
For simple solid wood, DIY often makes sense. For valuable, fragile, or badly damaged furniture, professional work may protect more value than it costs.
When Should You Stop and Call a Professional?
Stop DIY work when the risk of permanent damage is greater than the benefit of continuing. Valuable antiques, badly lifting veneer, intricate inlay, major structural problems, and unknown old painted finishes are clear examples.
Professional help also makes sense when you cannot identify the surface or existing coating. Guessing with coarse sandpaper or strong stripper can create a much larger repair.
Refinishing is not right for every table. If the core is swollen, the top is badly warped, veneer is missing across large areas, or joints are failing, repair or replacement may be the better decision.
What to Do Next
The safest way to approach how to refinish a wooden kitchen table is to identify the surface before choosing sandpaper or stripper. Clean the table, remove only what the new finish requires, repair damage, and test color before staining the whole top.
Apply a compatible protective finish and give it the full cure time stated on the label. If continuing could expose veneer, disturb old paint, or damage a valuable piece, stop before a simple refinish becomes a difficult repair.