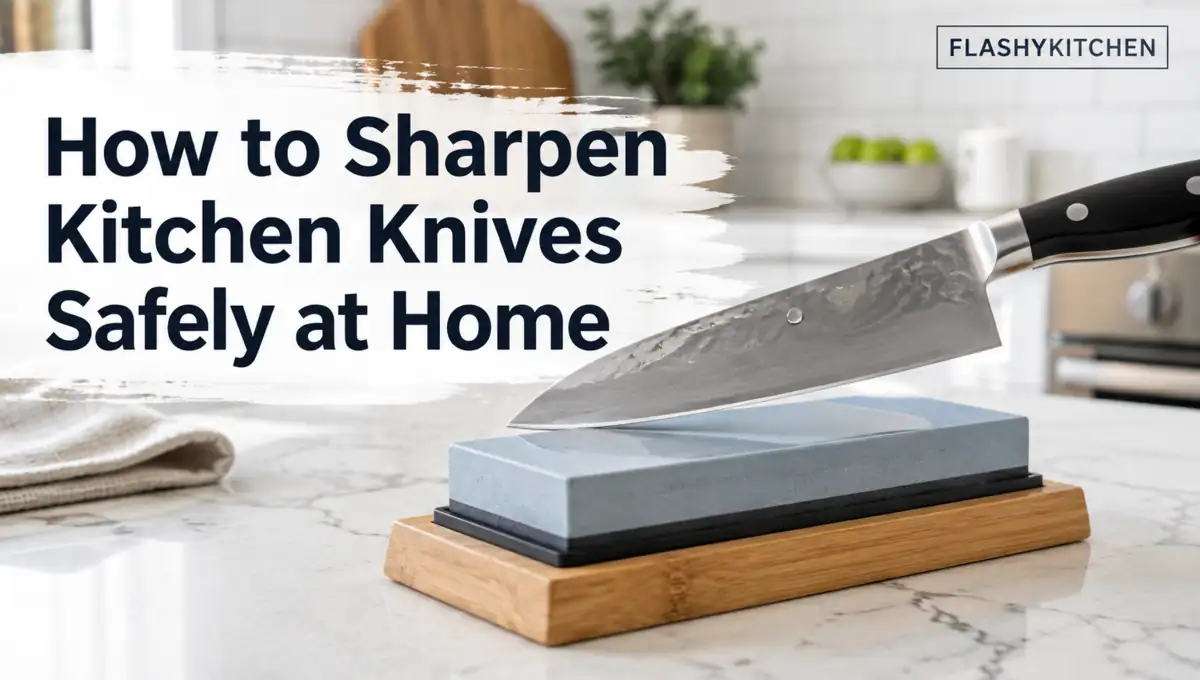
A dull kitchen knife makes clean cuts harder and can make you push more than you should. Learning how to sharpen kitchen knives at home comes down to choosing the right method, holding a steady angle, and knowing when the edge is ready. A whetstone gives the most control on most straight-edge knives. A honing rod maintains an edge, while manual and electric sharpeners trade some control for convenience. By the end, you should know which method fits your knife, how to sharpen it, and when a damaged or unusual blade needs professional help. Use steady movements and basic kitchen safety habits whenever you work with an exposed edge.
Quick Answer
The safest way to sharpen kitchen knives with a normal double bevel is to use a stable whetstone, match the existing angle, form a light burr, and repeat on the other side. Finish with light alternating strokes and test the edge before sharpening more.
- Hone first if the knife is only slightly dull.
- Start near 1,000 grit for routine sharpening.
- Keep the angle steady instead of pressing harder.
- Stop when the full edge cuts cleanly.
- Get professional help for chipped or unfamiliar valuable knives.
Should I Buy a Sharpening Rod?
A sharpening rod may be the right first tool if your knife is only losing its crisp feel, but a traditional honing steel does not rebuild a truly dull edge. Honing mainly realigns or refreshes the cutting edge, while sharpening removes metal to create a new edge.
Try a honing rod first. If the knife still slides over tomato skin, crushes herbs, or needs more pressure after honing, move to a real knife sharpening method.
Ceramic and diamond rods can remove some metal. Check the rod type before assuming it only hones.
This sequence prevents unnecessary sharpening: hone, test, then sharpen only if cutting performance does not return.
Which Sharpening Method Should You Use?
For most people learning how to sharpen kitchen knives, a whetstone offers the best control over angle, pressure, and metal removal. Manual and electric knife sharpeners are easier to use, but their preset guides may not match every blade.
| Method | Best use | Main benefit | Main limitation |
|---|---|---|---|
| Whetstone | Routine sharpening | High control | Takes practice |
| Honing rod | Edge maintenance | Fast and simple | Cannot fix a very dull edge |
| Manual/electric sharpener | Quick home use | Easy to guide | Less control over edge geometry |
| Professional service | Valuable or damaged knives | Handles difficult edges | Ongoing service cost |
A pull-through sharpener is not automatically bad. Its limitation is control: coarse grit removes metal quickly, and a mismatched fixed guide can alter the original knife bevel.
Cost follows the same trade-off. A sharpening stone or home sharpener is an upfront tool expense, while professional sharpening is usually a service expense each time. Prices vary by tool, blade, location, and damage, so compare the actual options available for your knife rather than relying on one national figure.
Sharpen a Kitchen Knife With a Whetstone
A medium-grit sharpening stone is the most practical starting point for a normally dull blade. Around 1,000 grit is commonly used for routine sharpening; a badly worn edge may need coarser work, while a fine grit can refine an edge that is already formed.
Some water stones need soaking; others only need surface water. Follow your stone’s instructions.
Set Up the Stone
Place the sharpening stone on a holder or damp towel so it cannot slide. Keep the knife handle dry enough for a secure grip and give yourself clear counter space.
A moving stone makes angle control harder. It also creates an avoidable safety problem, so secure the stone before the first stroke.
Match the Knife’s Angle
There is no single sharpening angle for every kitchen knife. Many double-bevel knives fall around 15 to 20 degrees per side, but Japanese, Western, single-bevel, and specialty blades can differ.
Comparing published sharpening guidance shows why one fixed number is a poor rule. If the maker specifies an angle, use it. Otherwise, follow the existing bevel and hold a consistent angle from heel to tip.
Sharpen the First Side
Place the heel of the blade edge on the stone. Move the knife so the abrasive reaches the full cutting edge, including the curved tip rather than only the center.
Use controlled pressure. Heavy force does not replace angle control and can make the knife harder to handle.
Work Until You Form a Burr
Continue until you raise a burr, a tiny ridge of metal that folds to the side opposite the surface you are sharpening. A burr matters because it shows that the abrasive has reached the actual edge.
Do not rely on a fixed stroke count. Steel hardness, stone grit, pressure, and dullness all change how many passes are needed. The burr gives better feedback than blindly counting strokes.
Sharpen the Second Side
Turn a normal double-bevel chef’s knife over and repeat the process. Match the angle and work the full edge until the burr moves to the other side.
Then reduce pressure and make light alternating strokes. The goal is to remove the remaining burr without grinding away more metal than needed.
Test the Edge
Wash and dry the blade before testing it. A paper test should produce a clean slice rather than repeated snagging and tearing.
A tomato is another useful check. The edge should bite into the skin without heavy downward pressure. If only one part struggles, correct that area instead of sharpening the whole knife again.
Do Different Knives Need Different Sharpening?
Blade shape and material change how to sharpen kitchen knives safely. A standard chef’s-knife method may be wrong for a single-bevel, serrated, or ceramic blade.
Japanese kitchen knives may use thinner edges or a single bevel. Match the existing geometry, and do not learn freehand sharpening on an expensive Japanese knife you do not understand.
A serrated knife should not be rubbed flat across a whetstone. A tapered rod can work inside individual serrations while following their existing bevel.
Ceramic knives need a suitable diamond abrasive and can chip if handled badly. A damaged ceramic blade is a poor beginner project.
Stainless steel kitchen knives with a normal double bevel can usually follow the basic whetstone process. Steel hardness and abrasive choice may change how quickly a burr forms, but the goal stays the same.
If you need to sharpen without a sharpener, avoid mug bottoms, concrete, and other improvised surfaces on a valuable knife. They give poor angle control. A suitable abrasive or professional service is the safer alternative.
How Often Should You Sharpen?
Sharpen when performance drops and honing no longer brings the edge back. Published guidance varies on fixed schedules, which is a good reason to use the knife’s behavior as the main test.
If the edge slides over tomato skin, tears instead of slicing, or needs extra pressure after honing, it is ready for sharpening. This performance test works better than sharpening simply because a month or season has passed.
Edge maintenance also depends on cutting surfaces, cleaning, and storage. Store knives so their edges do not knock against metal objects; better cabinet storage ideas help when knives and utensils share a crowded drawer.
Wash the blade directly, dry it, and put it away. The same moisture-control habit used to clean wooden utensils also protects kitchen tools from staying wet longer than necessary.
During a deep kitchen clean, keep knives visible and separate from soaking cookware. Never leave a sharp blade hidden under dishes while you clean the kitchen sink.
Could I Ruin an Expensive Knife?
Yes, poor technique can remove too much metal, scratch the blade, round the bevel, or make the edge uneven. If you are learning how to sharpen kitchen knives, an expensive gift knife is a bad practice blade.
Start on an ordinary straight-edge knife. Move to the valuable one only after you can hold a consistent angle, raise a burr along the whole edge, and finish without repeatedly correcting your hand position.
Common mistakes include changing the angle during each stroke, using more pressure than needed, choosing an unnecessarily coarse stone, and sharpening past the point where the edge is already clean.
Stop DIY work if the knife has deep chips, a badly damaged tip, an unfamiliar single bevel, severe uneven wear, or a ceramic blade you are not equipped to sharpen. Professional sharpening is the better alternative in those cases.
A very dull but undamaged knife does not automatically need professional help. It may simply need a coarser abrasive before routine sharpening.
Final Recommendation
Once you know how to sharpen kitchen knives, use the least aggressive method that solves the problem. Hone a slightly tired edge, use a stable whetstone for normal sharpening, and judge progress by the burr and cutting test rather than a fixed stroke count.
Practice on an ordinary knife first. If the blade is valuable, chipped, ceramic, or has geometry you do not understand, stop before experimenting and use a professional service.


One thought on “How to Sharpen Kitchen Knives Safely at Home”